
Last updated November 22, 2026
 Raised-panel steel
 Carriage house
 Modern flush
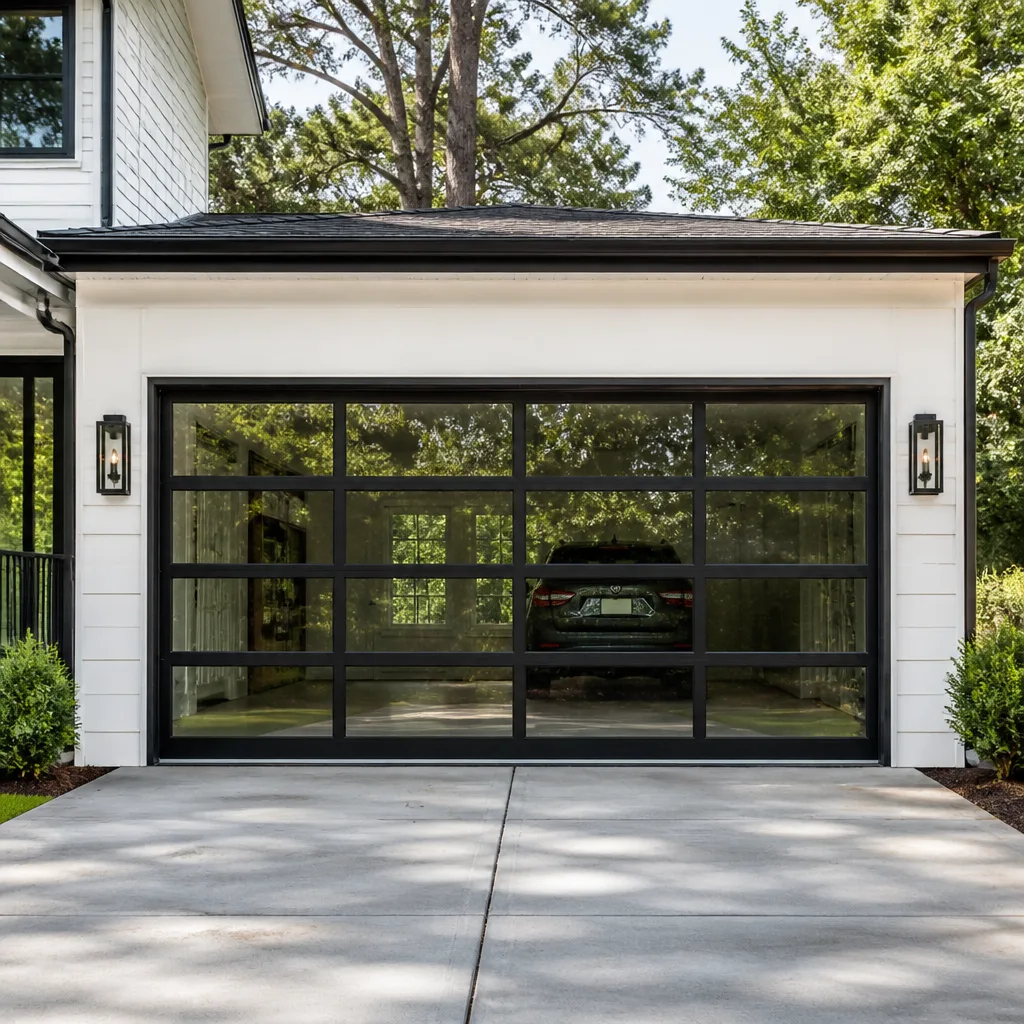 Full-view glass
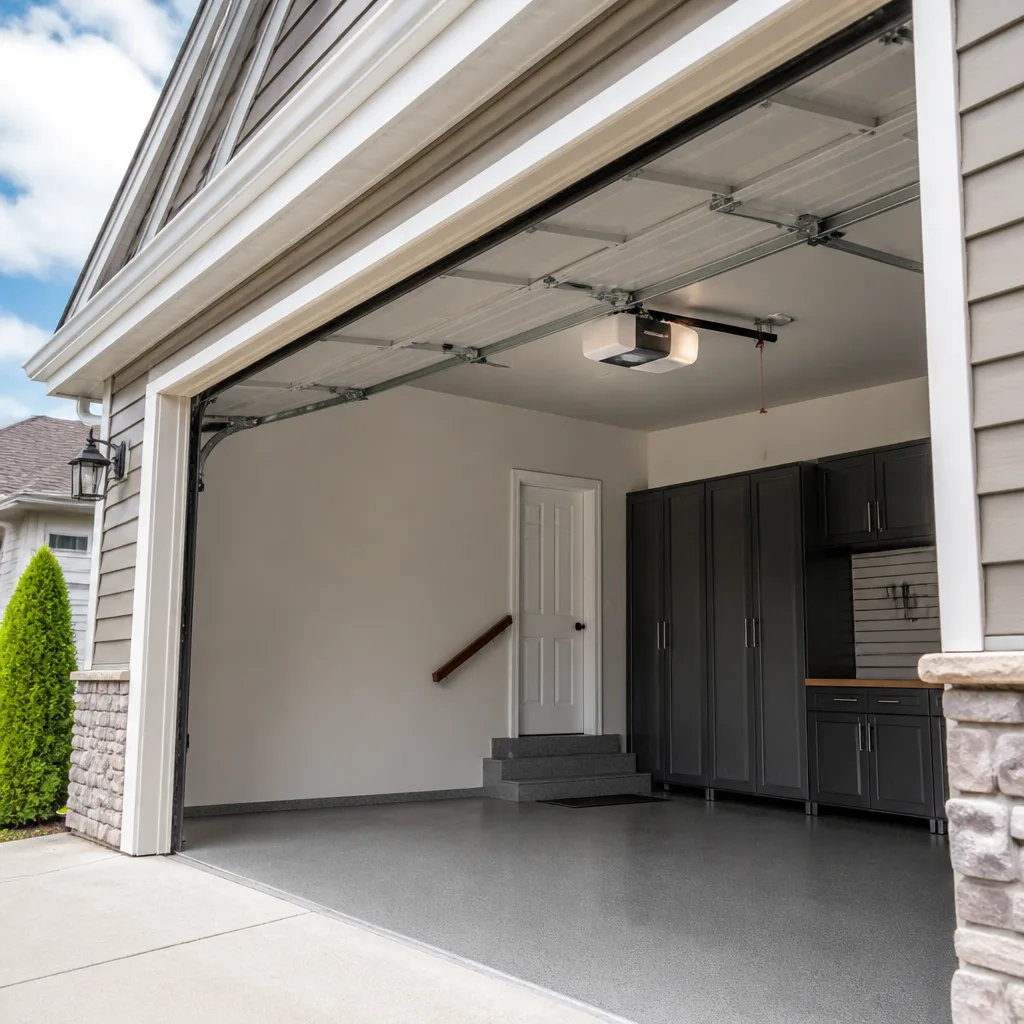 LiftMaster openers
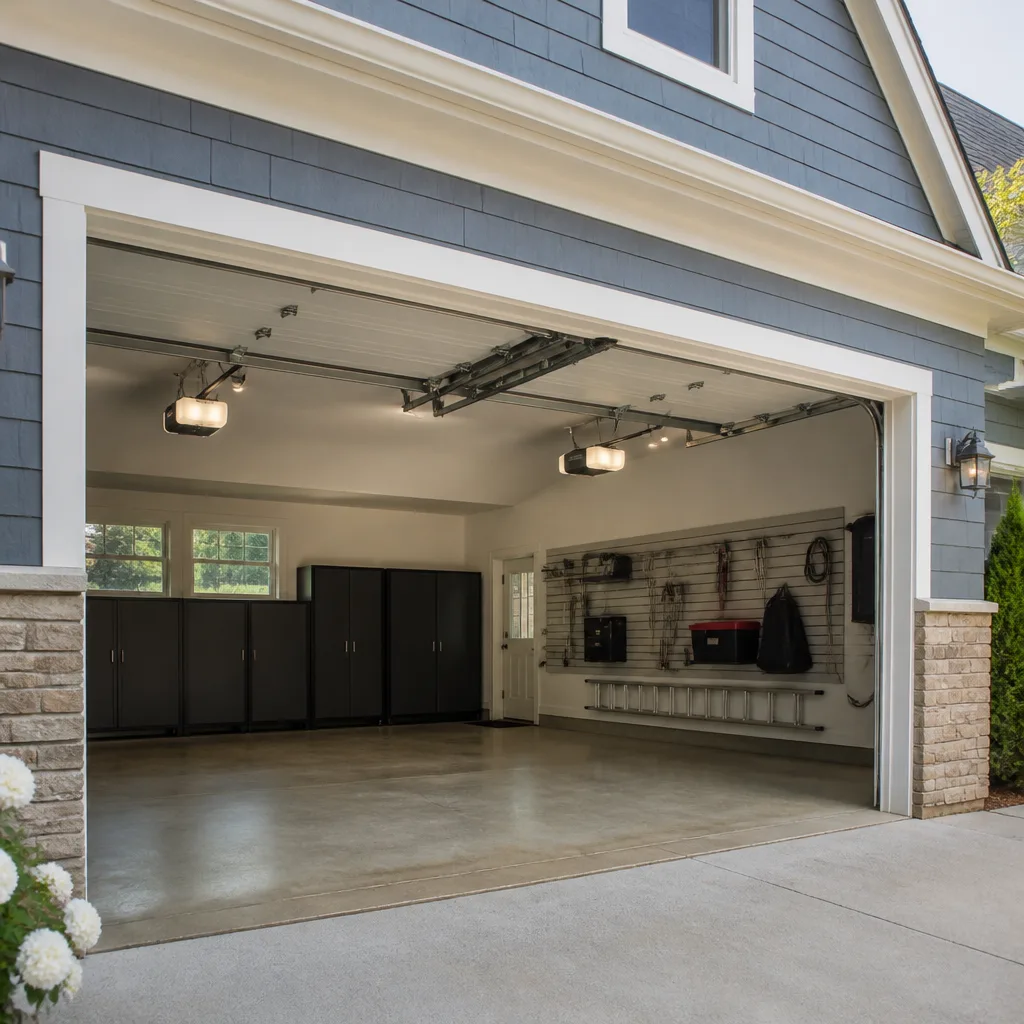 Chamberlain openers
Full 25-point door and opener safety check with every visit - springs, cables, rollers, tracks, and your LiftMaster or Chamberlain opener included
You get a price before we start. It does not change when the pro arrives.
Get your free estimateGarage Door Repair Maintenance Checklist for Plainfield Homeowners
Most printable garage door checklists tell you to “inspect the springs” without explaining why that advice can be dangerous. A torsion spring holds enormous stored energy, and when one is cracked or fatigued, hovering over it to “take a look” is not a harmless Saturday project. That single gap – instructions that name a task but never define a safe result – is why so many checklists collect dust. This guide is built the other way around. Every inspection step comes with a clear pass or fail threshold, so you can tell cosmetic wear from a part that’s about to let go. We’ll show you which tasks are safe to handle yourself, which ones belong to a trained technician, and how Plainfield’s seasonal swings change the schedule. By the end, you’ll know exactly what to look at, what to leave alone, and when to pick up the phone.
Quick Answer
A garage door maintenance checklist should cover lubrication, balance testing, roller and hinge inspection, cable and spring observation, weather seal checks, and opener force testing – with a pass/fail standard for each. Homeowners can safely handle lubrication, visual inspections, and the 10-second balance test, but spring, cable, and high-tension work always requires a trained technician. In Plainfield, the freeze-and-thaw cycle between seasons makes twice-yearly checks the practical minimum.
Styles & brands we work with
- Raised-panel steel
- Carriage house
- Modern flush
- Full-view glass
- LiftMaster openers
- Chamberlain openers
Table of Contents
- How This Checklist Works: Pass or Fail, Not “Check for Wear”
- Which Tasks Are Safe for You and Which Need a Technician
- The 10-Second Balance Test That Catches Spring Problems Early
- The Lubrication Map: What to Grease, What to Leave Alone
- How Often to Check Each Item in Plainfield’s Climate
- Rollers, Hinges, and Tracks: The Hardware Checklist
- Opener Checks: Force Settings, Safety Reverse, and Brand-Specific Quirks
- Weather Seals and the Bottom Rubber
How This Checklist Works: Pass or Fail, Not “Check for Wear”
A maintenance checklist is only as good as its thresholds. “Check for wear” tells you to look. It doesn’t tell you what you’re looking for, or when what you see means stop. That vagueness is why so many homeowners either skip maintenance entirely or, worse, convince themselves a failing part is fine because nothing looks obviously broken. We’ve seen plenty of doors in Plainfield where the warning signs were visible for months before failure.
Here’s the standard we hold every item to. Each inspection has three possible results:
- Pass: The part looks and behaves the way it should. Move to the next item.
- Monitor: There’s early wear but the door still operates correctly. Note it and recheck in a set interval.
- Fail: The part is worn past a safe limit or the door is behaving outside normal ranges. Stop using the door and get it looked at.
That third result matters most. A failing spring, a frayed cable, or an opener that won’t reverse on command is a safety issue, not a maintenance note. In our experience, the biggest cause of sudden garage door failures isn’t lack of maintenance – it’s a homeowner who saw a warning sign, didn’t recognize it as a fail, and kept using the door until it broke. Defining the fail threshold in plain terms fixes that.
This guide treats every component as either a homeowner-safe task or a technician task. There’s no gray area in that split, and we’ll be explicit about it. Plainfield homes run the range from older single-car garages with extension springs to newer builds with torsion systems and smart openers, so the thresholds shift a little by door type – but the pass/fail framework stays the same.
Which Tasks Are Safe for You and Which Need a Technician
The single most useful distinction on any garage door checklist is what you can safely touch and what you can’t. Most of the door’s important inspection points are homeowner-safe. The components that store dangerous energy are not. Getting clear on that line is more valuable than any single step on the list.
Homeowner-safe tasks
- Lubricating hinges, rollers, and the torsion spring’s coil (with the door closed and opener unplugged)
- Visual inspection of cables – look, don’t touch, and don’t run your hands along a cable under tension
- The 10-second balance test (detailed below)
- Testing the opener’s safety reverse with a small object under the door
- Inspecting weather seals and the bottom rubber for cracks or gaps
- Tightening loose hinge screws (never the spring set screws or cable drums)
- Cleaning the tracks with a damp cloth and checking for dents
- Tightening opener chain or belt tension only per your manual’s spec
Technician-only tasks
- Any spring repair or replacement – the torsion spring and extension springs both carry destructive stored force
- Cable replacement or adjustment – the cables are what hold the door’s weight; a slip means the door can drop
- Adjusting torsion spring tension – this is a wind-up operation, and the danger is in the process, not just the result
- Roller and hinge replacement on a torsion system – the door needs to be de-tensioned first
- Track realignment when the door is off its track
- Opener force and travel limit adjustment beyond the homeowner-level check your manual describes
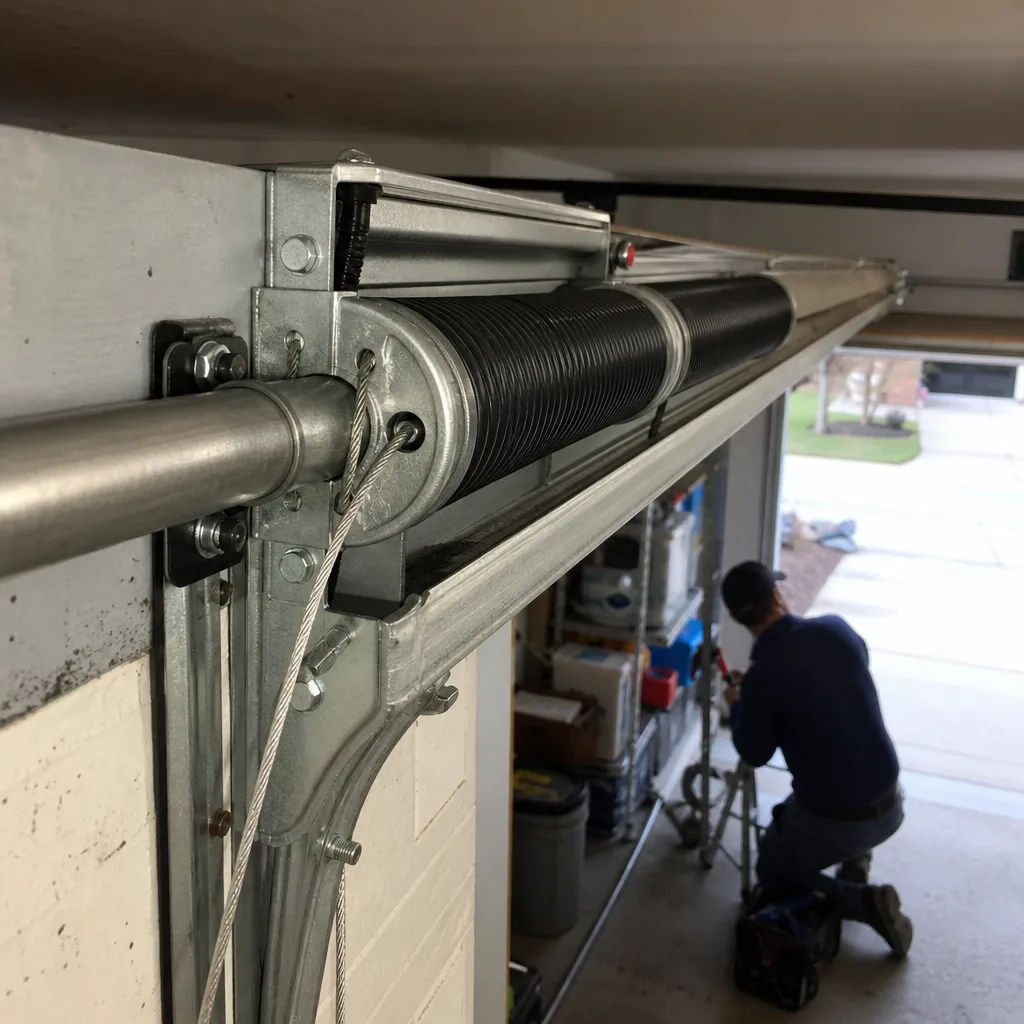
The springs are the most dangerous component in your garage door system. A torsion spring under normal operating tension stores a serious amount of force, and a cracked spring can release it suddenly. We handle spring work with the right tools, the right technique, and the safety habits that go with them. We’d rather a Plainfield homeowner call us for a spring concern than try to save a service call and get hurt.
The 10-Second Balance Test That Catches Spring Problems Early
This is the highest-value maintenance step in the whole checklist, and it takes ten seconds. It’s also the step most homeowners have never been shown. The balance test reveals spring tension problems before they become full failures, which means it can catch the failure mode that most often strands a door halfway down.
How to run it
- Close the door fully.
- Pull the opener’s manual release cord so the door disconnects from the opener.
- Lift the door about halfway – roughly waist height – then let go.
- Watch what the door does. Don’t walk under it.
- Reconnect the door to the opener by running it back up until it re-engages.
How to read the result
- Pass: The door holds its position, with maybe a slight drift. The springs are balanced across the door’s weight.
- Monitor: The door drifts down slowly. Springs are losing tension or starting to fatigue. Recheck in a month.
- Fail: The door drops on its own, or it falls slowly and heavily. Do not keep using it. Get a technician out. This is the clearest single sign a spring is approaching failure.
A door that feels heavy to lift by hand is another fail signal, even if it doesn’t drop. It means your opener is working harder than it should to do the lifting, which wears it out faster and is a sign the springs have weakened. If you’ve noticed the door getting “heavier” over a season or two, that’s the balance test confirming what your arms are telling you. Our garage door spring repair service covers exactly this situation. We check the springs, verify balance, and set the tension properly so the door is back to a true hold position.
The Lubrication Map: What to Grease, What to Leave Alone
Lubrication is the most misunderstood maintenance task on the garage door. People lubricate the wrong parts and skip the right ones, and both mistakes cause problems. A good lubrication map saves you noise, wear, and the gritty mess that comes from over-greasing parts that should stay dry.
Lubricate these
- Hinges – a light spray at each joint. Use a garage-door-specific lithium or white grease, not WD-40.
- Roller bearings and stems – a few drops per roller. Skip the roller surface itself.
- The torsion spring’s coil – a light spray down the length of the coil (door down and opener unplugged). Some technicians prefer this dry; it’s a judgment call, but a light coat won’t hurt.
- The opener rail and trolley – a light lithium grease per the opener manual (LiftMaster and Chamberlain manuals both call for it).
Never lubricate these
- The tracks – this is the most common mistake. Grease on the tracks collects dirt and debris, which then binds the rollers. The tracks should be clean and dry. Wipe them down with a damp cloth if they’re dirty.
- The outside of the rollers – the roller surface should roll freely. Grease makes it slide instead, which wears the track.
- Photo-eye lenses – they need to be clean and clear, not greasy.
- The belt on a belt-drive opener – belts are meant to run dry.
Once a year is fine for most of this. In Plainfield, where the summers are humid, we lean toward twice a year for the moving parts, because the humidity speeds up the drying out of the initial grease and grit collection. Use white lithium grease or a garage-door-specific spray. Avoid WD-40 as a lubricant on the door – it’s a solvent, not a grease, and it will dry out and leave the parts wearing.
How Often to Check Each Item in Plainfield’s Climate
Generic checklists say “once a year.” That’s too little in a place with hard seasonal swings. Plainfield’s winters bring freeze-and-thaw cycles that stress the door’s hardware, and the humidity in summer works on the seals and the grease. The schedule below is built around that annual rhythm rather than a calendar year.
- Balance test – every month. It’s ten seconds, and it’s the earliest warning you’ll get on spring issues.
- Visual cable inspection – every month, or any time the door hits an obstacle or sounds off.
- Lubrication of hinges, rollers, and opener rail – twice a year, late fall (before the freeze) and early spring (after the thaw).
- Safety-reverse test – once a month, especially after any opener setting change or power outage.
- Weather seals and bottom rubber – late fall, to check for the freeze; early spring, to catch winter cracking.
- Track and roller inspection – twice a year, along with lubrication.
- Full professional tune-up – once a year. A trained technician catches what the balance test and visual checks can’t.
That last item is the one most homeowners skip. A pro tune-up checks spring tension with the correct tools, verifies the opener’s force settings against the door’s actual weight, and looks at the cable drums and bearings – all things that aren’t homeowner-safe. Think of it as the annual appointment that keeps the twice-yearly homeowner checks meaningful.
Rollers, Hinges, and Tracks: The Hardware Checklist
The moving hardware – rollers, hinges, and tracks – is where most of the day-to-day noise and wear shows up. This is homeowner-safe ground, so here’s the checklist with the fail thresholds spelled out.
Rollers
Inspect each roller with the door closed. A healthy roller turns smoothly in its bracket and shows no flat spots. The fail threshold: a roller that’s flat-spotted, cracked, or so worn it slides instead of rolls. Nylon rollers should be replaced when they start showing visible wear on the rolling surface. Steel rollers should be replaced when they’re flat-spotted or making a steady grinding sound. If more than one or two rollers fail, replace them as a set – the others are the same age and about to fail too.
Hinges
Check each hinge for loose screws and bent leaves (the flat parts that attach to the panel). The pass threshold: no wiggle, no sag from the door panel. Loose screws should be tightened. Bent hinge leaves or a hinge that’s visibly pulling away from the door are a fail – a bent hinge puts stress on the whole panel and should be replaced. Never tighten the set screws on the spring or the cable drum; those are technician territory.
Tracks
Run your hand along the inside edge of each track (not the cable side) and look for dents, kinks, or a gap between the door and the track. Pass: the track is straight, the rollers sit centered in the channel, and there’s an even gap on both sides of the door. Fail: a visible kink, a roller that’s jumped the track, or a gap larger than the roller’s diameter. A kinked track is a technician fix. Don’t try to bend it back with a hammer – you’ll weaken it and make the door or the rollers fail faster.
Tracks get knocked out of alignment from a bump with a car or a bicycle, which is common in Plainfield’s tight two-car garages. If the door’s off the track, stop using it and get it looked at. A door that’s off track can drop.
Opener Checks: Force Settings, Safety Reverse, and Brand-Specific Quirks
The opener’s safety reverse is the most important test on this page that homeowners can and should run themselves. It’s also the one that gets skipped because nobody likes getting down on the floor with a block of wood. Here’s the test and the fail threshold, plus brand-specific notes for the openers we work on most in Plainfield – LiftMaster, Chamberlain, Craftsman, Raynor, Genie, and the rest of the eight major brands we service.
The safety-reverse test
- With the door fully open, place a 2×4 or a sturdy box directly under the door’s path, about an inch off the floor.
- Press the close button and watch what the door does when it hits the object.
- Pass: The door reverses within a couple of inches of contact and goes back up.
- Fail: The door keeps pressing down on the object. Stop the door and disconnect the opener. This is a safety failure – get it fixed before you use the door again.
The photo-eye test is the second half. Pass a hand between the two photo eyes with the door closing. Pass: the door reverses. Fail: it doesn’t. The most common cause is misalignment or a greasy lens, both of which you can fix yourself with a wipe and a nudge. If the eyes are clean and aligned but the door still won’t reverse, the issue is in the opener’s logic board – call a technician.
Brand-specific notes
- LiftMaster and Chamberlain – same opener platform under two names. Force and travel-limit settings are set through the control panel using arrow buttons and the “learn” button. The MyQ app (if you use it) will show door status, but it won’t catch a force-setting failure – you still have to run the physical test.
- Craftsman – many older Craftsman openers have force limits that were set once and never checked again. If you’ve lived in a Plainfield home for years and never touched the opener settings, the safeties may no longer meet current standards. Have a technician verify them.
- Raynor – Raynor openers often pair with Raynor doors, so the door’s own weight and balance settings are calibrated together. A Raynor door with an off-brand opener can develop force problems. A balance test tells you which side is at fault.
Force settings should be checked once a year by a technician, or any time the door starts reversing for no reason or failing to reverse on command. Our garage door opener repair covers every major brand, including the eight we’re trained on. If your opener’s force or travel-limit settings are wrong, that’s a fast fix, and the written estimate you’ll get before work starts will confirm exactly what’s involved.
Weather Seals and the Bottom Rubber
The bottom rubber and side seals aren’t safety issues, but they’re the most visible maintenance item and the first thing Plainfield homeowners notice. A cracked or shrunken bottom rubber lets in cold air, water, and leaves, and it lets the door rattle on the floor. It’s also the cheapest thing on this checklist to fix.
What to check
- The bottom rubber (the astragal): look for cracks, a flattened profile, or gaps at the corners. Pass: flexible, even contact with the floor across the full width. Fail: hard, cracked, or a visible gap you can see light through.
- Side and top seals (the jamb seals): pass: flexible, snug against the door. Fail: split, brittle, or pulled away from the frame.
- The seal track: pass: straight and holding the seal. Fail: the seal is falling out of the track, or the track is bent.
Seasons matter here too. Late fall is the time to check that the bottom rubber is still making contact before the freeze; early spring is the time to catch cracking from the winter. If the seal is the only fail on your checklist, it’s a low-impact repair – but don’t ignore it, because a bad seal puts extra daylight and moisture in the garage, which eventually finds its way to the door’s hardware.
Common Mistakes to Avoid
- Greasing the tracks. The tracks should be clean and dry. Grease collects grit, binds rollers, and makes the door harder to operate – not easier. This is the most common garage door mistake in Plainfield homes, and it’s an easy one to undo with a rag.
- Inspecting springs by feel. A tired, cracked spring can still look normal and can still be under heavy tension. Don’t run your hands along a torsion coil or try to “wiggle” it to check it. Visual inspection from a distance is the limit here; the balance test tells you what you actually need to know.
- Using WD-40 as a lubricant. WD-40 is a penetrating solvent, not a grease. It’ll quiet the door for a day, then dry out and leave it wearing faster. Use a white lithium or garage-door-specific grease.
- Skipping the balance test because the door “seems fine.” The door feeling fine is exactly the situation the balance test is built for – it’s the check that catches the problem before the door stops working. Ten seconds a month is the whole ask.
- Tightening the wrong screws. Hinge screws and opener rail screws are fair game. The set screws on the spring and cable drum are not. Tightening those the wrong way can send a component loose under load.
- Pushing a door that’s off track. If the door has jumped the track, forcing it makes the track damage worse and risks the door dropping. Leave it alone and get a technician out.
- Ignoring the opener’s safety reverse. The automatic reverse is the one feature standing between the door and anything – or anyone – in its path. The test takes a minute a month. There’s no version of “I’ll get to it” that’s worth skipping it.
See the difference
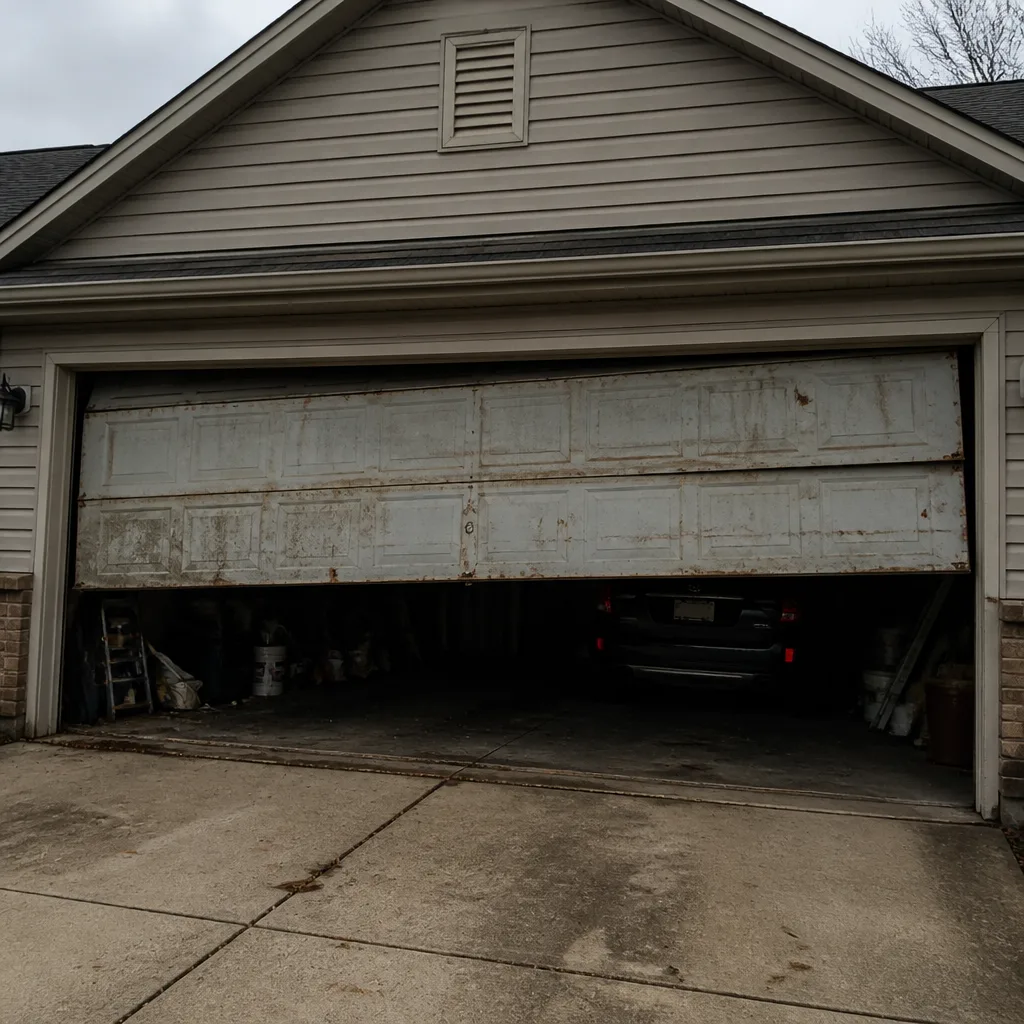 Before
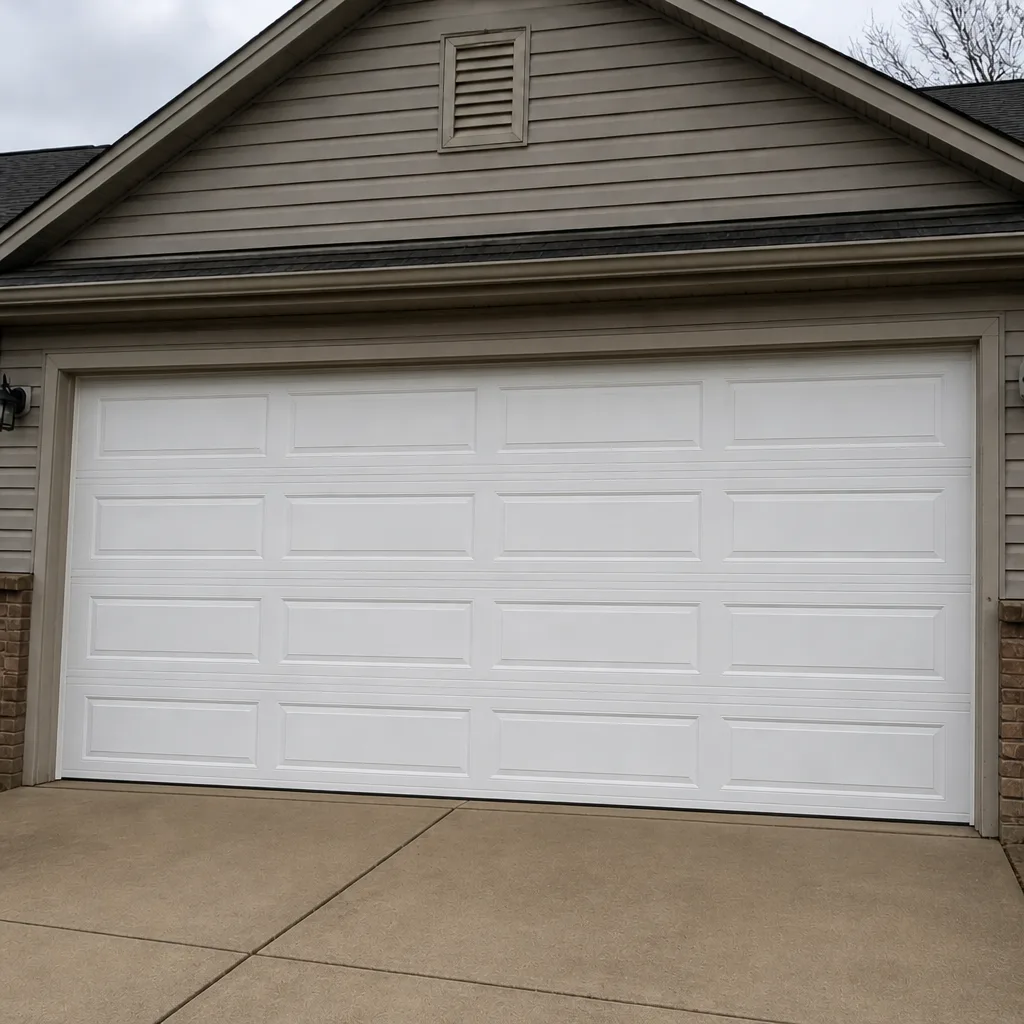 After
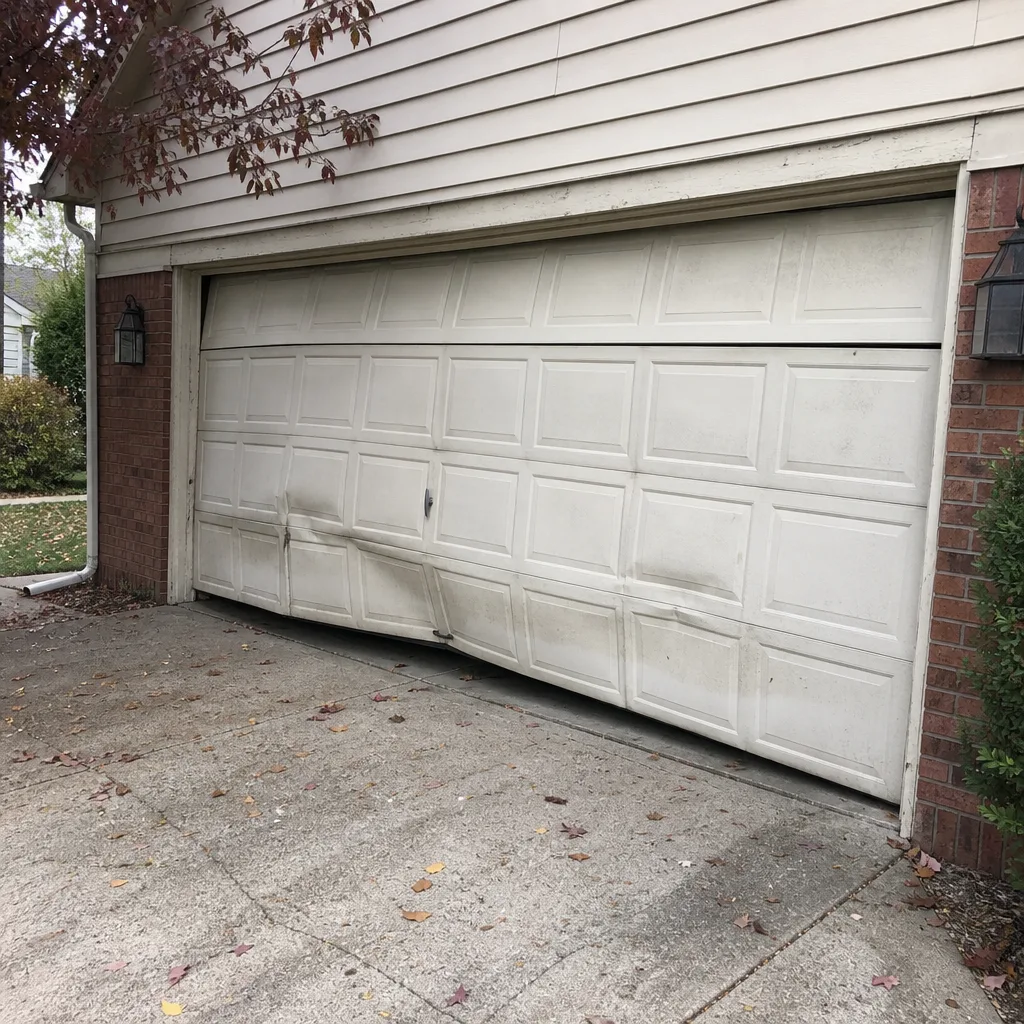 Before
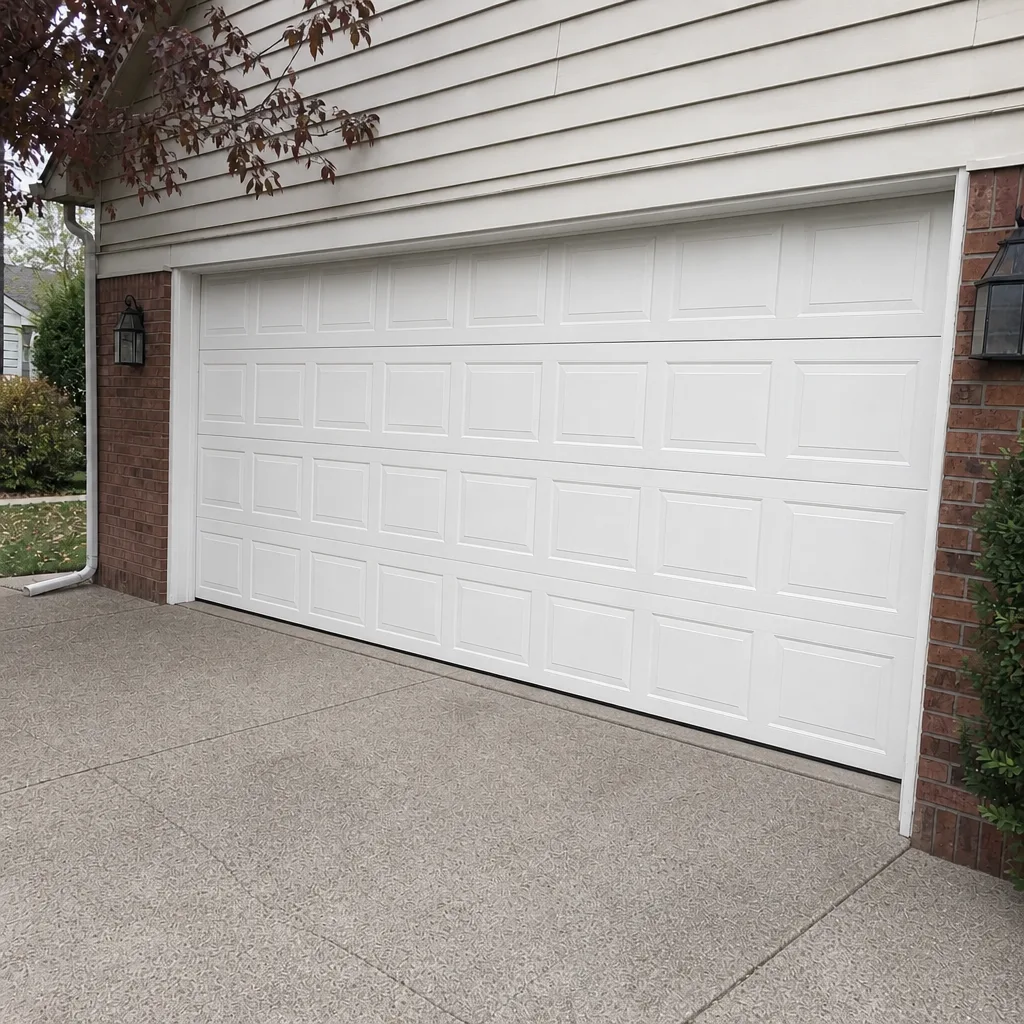 After
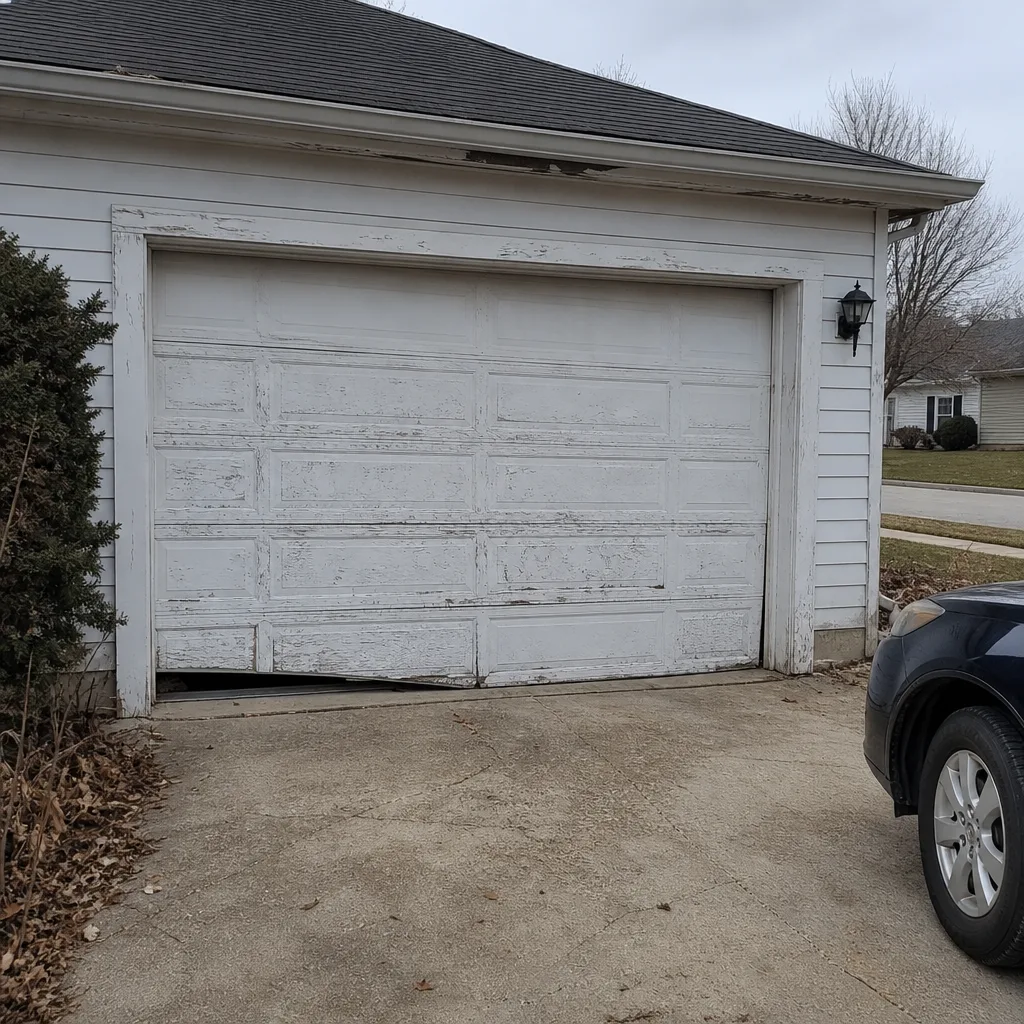 Before
 After
When to Call a Professional
Some failures are worth DIY. Springs, cables, off-track doors, and a failed safety reverse are not. Call a professional if any of the following come up: a failed balance test (the door drops or feels heavy), a snapped or visibly cracked spring, a frayed or twisted cable, a door that’s off its track or stuck halfway, an opener that won’t reverse, an opener that runs but doesn’t lift, or a door that closes and refuses to reopen. Any of these is a safety issue, and the door should stay closed until a technician has looked at it. Plainfield Garage Door Repair Experts offers free estimates in Plainfield. Call (866) 371-6990. We answer 24/7. Fast dispatch from 7am to 7pm, Sunday through Friday. The estimate is free, and the price is set per job by the written estimate – you’ll know the number before any work begins.
We also handle the maintenance-and-repair overlap: if you’re ready to move from the homeowner checklist to a professional tune-up, that’s the same number. Our garage door repair covers everything from a single failing part to a full system check. If you need a new door rather than a fix, we can install that too, once the measure and the written price are agreed.
Frequently Asked Questions
A garage door in Plainfield should get a full professional service once a year, with homeowner checks (balance test, safety-reverse test, and lubrication) on a monthly-to-seasonal schedule. Plainfield’s freeze-and-thaw winters and humid summers put more stress on the door’s hardware than a mild-climate market, so twice-yearly lubrication and the annual pro tune are the practical minimum. Monthly balance tests are the cheapest insurance you can run against a spring failure. Call (866) 371-6990 for a free estimate on a professional tune-up.
A light spray on the torsion spring’s coil is safe, provided the door is fully closed and the opener is unplugged. What isn’t safe is trying to adjust, remove, or inspect a spring under tension by feel. If you can’t tell whether your spring is fine from a distance, use the balance test instead of touching it. If the test fails, call (866) 371-6990 for a free estimate – our garage door spring repair covers torsion and extension systems.
A failing torsion spring often shows a visible crack or a gap in the coil, but a fatigued spring can look completely normal from the outside. That’s why the balance test matters more than the visual check. If your door drops when you lift it halfway and let go, the spring is on its way out even if it looks intact. Stop using the door and call (866) 371-6990 for a free estimate.
No. Spring replacement requires the door to be fully de-tensioned, the spring re-wound to a specific tension, and a set of tools most homeowners don’t own. Doing it without training is the most common way homeowners get seriously hurt working on a garage door. Our technicians have up to 10 years of experience and handle spring work with the right tools. Call (866) 371-6990 for a free estimate.
A door that reverses on its own almost always has a misaligned or dirty photo-eye, or a force setting that’s too sensitive for the door’s weight. Wipe the lenses and check the eye alignment first – that fixes it more often than not. If the door still reverses, the issue is in the opener’s force settings or logic board, and that’s a technician fix. Call (866) 371-6990 for a free estimate on garage door opener repair.
The homeowner-safe tasks on this checklist – lubrication, visual inspection, the balance test, and the safety-reverse test – are the right DIY work. The technician-only tasks are springs, cables, off-track doors, and force adjustments. Most Plainfield homeowners do best with the DIY checks on a schedule plus one professional tune-up a year to catch what the visual checks can’t. Call (866) 371-6990 for a free estimate on a tune-up. We answer 24/7. Fast dispatch from 7am to 7pm, Sunday through Friday.
The Bottom Line
A garage door maintenance checklist is only useful if each step tells you what a safe result looks like. Use the pass/fail framework above, run the balance test monthly, keep the tracks dry, and put a technician on the springs, cables, and off-track repairs. That split – homeowner-safe checks on a schedule, professional work on the danger points – is what keeps a Plainfield garage door working through the seasonal swings. If anything on this checklist comes back a fail, don’t keep using the door. Call Plainfield Garage Door Repair Experts at (866) 371-6990 for a free estimate. We answer 24/7. Fast dispatch from 7am to 7pm, Sunday through Friday, and the price is agreed in writing before any work begins.
Our Plainfield Garage Door Repair Experts page is the place to start if you want to see the full range of what we handle.
Written by the team at Plainfield Garage Door Repair Experts.